In the current age, while that same adage may still ring true, it's probably not a bad idea for able-bodied men to learn a few culinary skills. After all, there's no shortage of career woman types who think dinner is something you order on DoorDash, lots of guys are single by choice, and everybody needs to eat. Eating healthy and tasty food requires next-level thinking, willingness and a modicum of skill.
This isn't exactly a deviled egg recipe. It's more a treatment on how to prepare deviled eggs for your next holiday gathering, or, just to treat yourself and your lady (or ladies) to one delicious, delectable appetizer.
First, a little history:
For this treatment, you will need:
First, choose the right eggs. Regular white, large eggs from any supermarket will suffice. Farm eggs, brown eggs, free-range chicken eggs will deliver superior flavor. Make sure the eggs you use are not perfectly fresh. Being stored for up to a week or even longer helps in the peeling process by which the shell and membrane easily detach from the whites.
Once you've decided on how many deviled eggs you wish to create, remembering that each egg will produce two deviled eggs because they're cut in half, you need to hard boil them. A good rule of thumb is one full egg (two deviled eggs) for each guest. Some won't eat any, others will glom up three or more, so two is a pretty safe number.
Of course, if you're heading to a put-luck or another large gathering, you're not going to make 200 deviled eggs. Choose an appropriate amount.
Now, boiling the eggs isn't difficult, though there are different schools of thought. The optimal time for a good hard-boiled egg is 12 minutes. Not 11, not 15. Twelve is standard. If you want to be a little crafty, you might even want to under-boil them to get a less-solid yolk, though that also means you may get flimsy whites, which wouldn't work, so, if just starting out, stick with 12 minutes.
There's a school of thought that believes proper boiling of eggs is to boil enough water to completely submerge the eggs by 1/2 to one inch, boiling the water first, then inserting the eggs, turning off the heat, covering the pot and then waiting the conventional 12 minutes. It's been tried, and it works.
A more trustworthy method, since your eggs are likely to be coming straight out of the refrigerator into the pot, is to fill the pot with water (cold, cool, or warm), carefully submerge the eggs, heat until boiling and keep the heat on, boiling for a full 12 minutes.
Once the eggs have been boiled, take the pot over to the sink and run cold water into the pot with the eggs still inside. This assures the eggs will cool slowly, but not so slowly as if you'd let the water cool to room temperature on its own. Let the eggs sit in the cool water. If you reach in and grab one, you'll realize it is still warm. Wait 10 to 15 minutes, then transfer the eggs out of the water and into a bowl and place it in the refrigerator.
The eggs will cool down sufficiently roughly an hour.
Once you've got the eggs cooled down, comes the peeling, which is often a chore, but can be really easy if you do it correctly. Finding a hard surface, like a countertop or cutting board or stone, is essential. Take one egg and tap it on the hard surface, hard enough to crack the shell. Do that a few (8-10-12) times, rotating the egg to crack different spots on the shell. Then, roll the egg between your hand and the surface, pressing lightly, loosening the shell.
If you're lucky, the shell will peel easily. If not, it could be time-consuming and annoying. Don't worry, we've all been there. Take your time, peel all the eggs and rinse them off thoroughly. Nothing will ruin a deviled egg experience than a bit of shell still attached or hanging onto the white.
Cut the eggs in half, lengthwise, from the tip to the bottom, not though the middle. This way, you're sure to cut through both the white and the yolk. Scoop out the yolk carefully. It should come out pretty easily. Don't be afraid to use your fingers. Put the separated white on a plate, the yolk halves in a bowl. Repeat until all your eggs are halved.
In the bowl of yolks, sprinkle some ground black pepper, just enough to give the whole batch some spice. Don't overdo it. Add a splash of vinegar, white, red or apple cider. Any will do, though wine vinegar offers the most robust flavor. Again, don't overdo it, but also don't skimp. You want to add maybe a teaspoon of vinegar to eight yolks.
Then fork in mayonnaise. Not lite mayo. Not Miracle Whip. Not salad dressing. Good, old fashioned mayonnaise, like Hellman's, which is still the best. Do NOT add mustard. Mustard and vinegar will produce a mildly unpleasant taste, something you wish to avoid.
Add enough mayonnaise to give the yolks some volume and creamy consistency. Remember, you have to refill the spaces in the white, plus have some protruding above for proper-looking deviled eggs.
All that goes into the yolk mixture is ground black pepper, vinegar and mayonnaise.
Take your fork and begin mashing down the yolks mixing with the mayo and other ingredients. You want this eventually to get to a consistency somewhere between a mortar and toothpaste. It should be creamy, not stiff, but still solid enough not to run.
Take scoops of the yolk mix and gently fill the white halves, one by one. Once they're all filled, sprinkle some paprika over the top of the yolks. A dash on each gives it a little extra punch and the red color exudes holiday cheer.
A few final pointers:
When adding the mayonnaise, try to estimate how much you'll need before mashing up the yolks, because if you need to add more, you'll have to clean off your fork or risk getting egg yolk in your mayo.
These will store overnight in the fridge, so you can make them up to 24 hours beforehand.
If you're going to taste-test the yolk mixture, use a fork, not your finger. Your finger will ruin the taste.
Do NOT put olives on top.
There are plates made specifically for serving deviled eggs. Do a search for deviled egg dishes and you'll find everything from low-priced ordinary to ornate and expensive.
Any woman who tries one of these and knows that you made them yourself will love you forever (Well, maybe not forever, but, she'll think you're extra cool, and have a good grip on your overall manliness.).
Don't EVER say, "the way to a woman's heart is through her mouth."
Follow this recipe and you're certain to be invited to every party.
If you do everything right, these devilishly delicious deviled eggs should come out looking something like the ones pictured below.
Happy Holidays!
Next Month: How to perfectly pickle peppers without peeing pants or pinching pecker, while profoundly philandering publicly.
 It has been said that the way to a man's heart is through his stomach. That saying went with the time-honored tradition that a good woman should know how to cook.
Deviled eggs, also known as stuffed eggs, Russian eggs, curried eggs or dressed eggs, are hard-boiled eggs that have been peeled, cut in half, and filled with the yolk, mixed with other ingredients such as mayonnaise and mustard. They are generally served cold as a side dish, appetizer or a main course during gatherings or parties. The dish's origin can be seen in recipes for boiled, seasoned eggs as far back as ancient Rome, where they were traditionally served as a first course.
These delightful, festive, bite-sized treats have been around for a long time. This preparation is the one normally used by one Molly Gagliano, [pictured, right] mother of idleguy.com publisher, Fearless Rick.

You might want to make a few more than needed because nobody can resist trying one of these little beauties, including the best of chefs.

This recipe took years of experimentation and many nights of stumbling around the kitchen to perfect. There are variations galore, but this is the base recipe. Amounts, such as "pinch", "tablespoon", "ounces", etc. have been purposely avoided for two reasons:
Here we go:
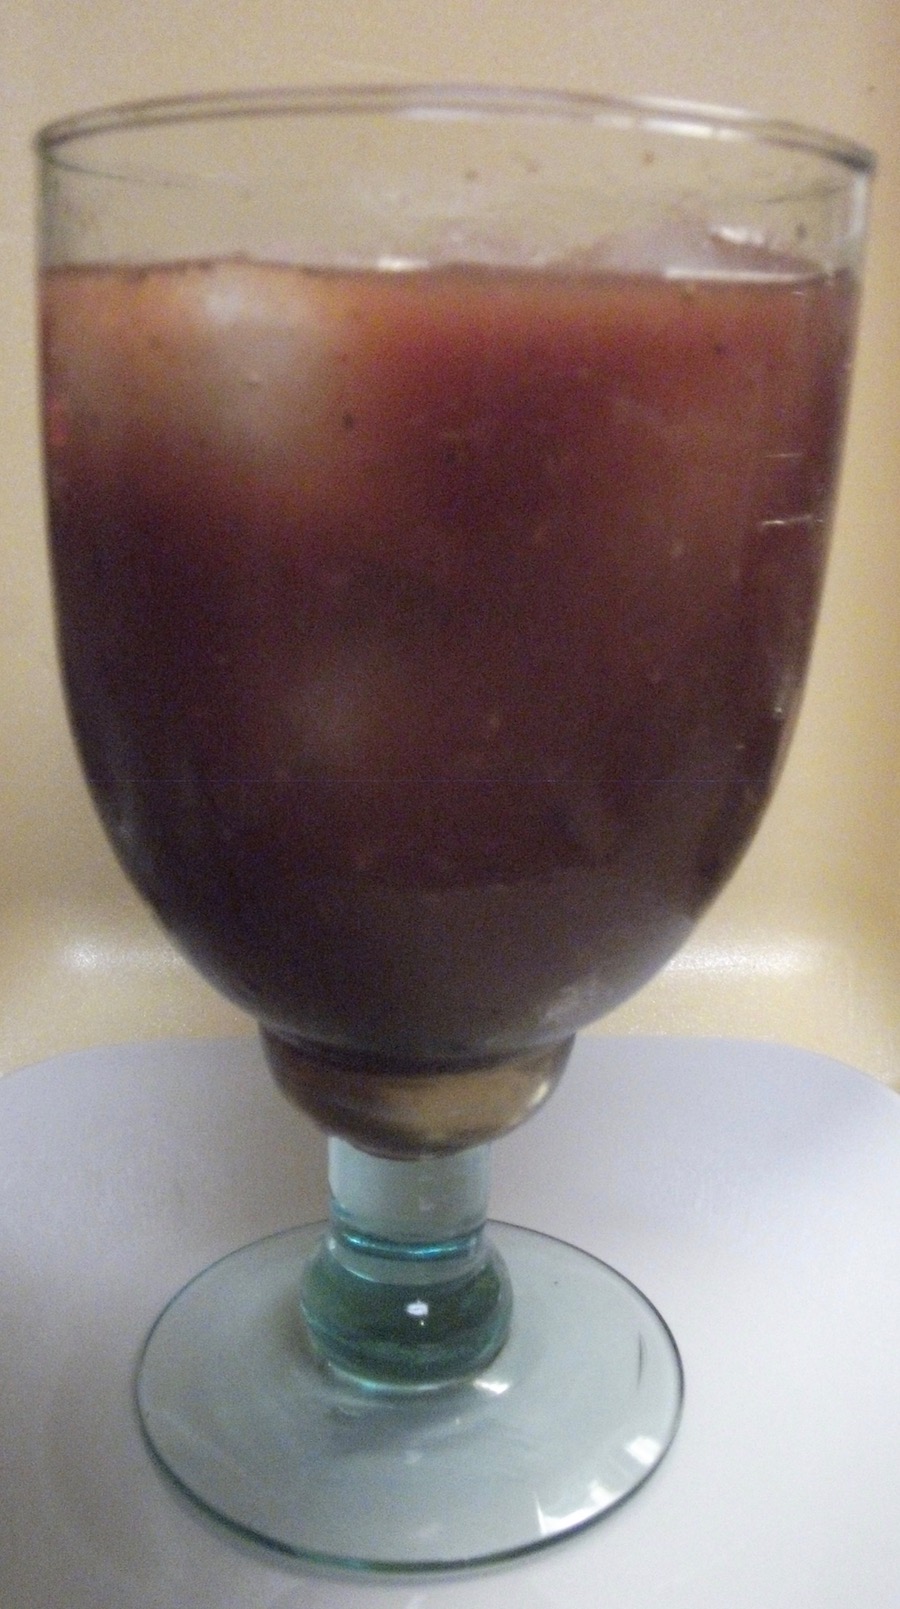
1. Glass - a 16-ounce stemmed goblet is best, preferably fine crystal.
Step 13 is the drinking. You should already know how to do that. No apologies to AA.
1. Any experienced bartender (I am one) will tell you that if you have to measure, you're never going to make it.
2. After a few of these, forget it. You're on your own, free-pouring, and loving the experience.
2. Ice - You must make awesome ice cubes. No substitutes.
3. Vodka - Any vodka will do, though Grey Goose, Stoly, and other premium brands will obviously result in a better-tasting drink. However, after you've had a few, it won't matter. Don't overpour. Too much vodka will result in bitterness.
4. Pepper - Ground black, preferably from a grinder (you do have a pepper grinder, no?)
5. Cayenne Pepper - Store bought is fine. A few years ago, I grew cayenne peppers. Six plants yielded a huge number of blazing chiles, still in use today. Very easy to grow, especially in temperate climates.
6. Celery Seed - Absolutely essential. Every grocery store carries this.
7. Hot Sauce - Tabasco, Pete's, pick your poison.
8. Worcester Sauce - Lea & Perrins recommended, but any W-sauce will suffice.
9. Tomato Juice - Any kind, canned or bottled. Tomato juice has amazing health benefits.
10. Lime wedge / lime juice - If using actual limes, go easy. After a few, you may want to get the old ones out... or not.
11. Horseradish - It's not a Bloody Mary without this. Be generous, and magnanimous, in everything you do..
12. Stir - use only one hand, you idiots. Gently. A long soda spoon does the trick best.

www.dtmagazine.com
Playboy Back Issues
at Downtown Magazine